Mimecast
Last updated: November 26, 2025
How to connect Mimecast to Cork
Creating A Service Account & Granting User Permissions
Note: If you already have a service account created with user permissions, you can skip this section and proceed to Obtaining API Key.
Service Account Creation
- Log into the Mimecast Administration Console with a user who has the Admin role
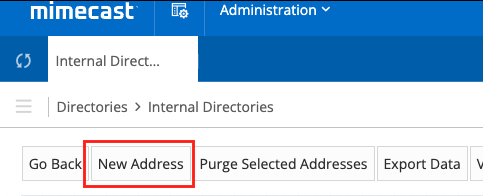
- Navigate to Administration > Directories > Internal Directories

- Click on the domain the service account will be added to.
- Click New Address.
- Choose an email address for the service account you wish to create
- Enter a Password and Confirm Password. Note: You will need to remember this password for use later in this article. It is recommended to store these credentials in your secure password manager.
- Click Save.
Granting User Permissions
Note: This article assigns the Basic Administrator role to your service account. Depending on your company’s security practices, you may also want to look into creating a custom role for the service account.
- Navigate to Administration > Account > Roles
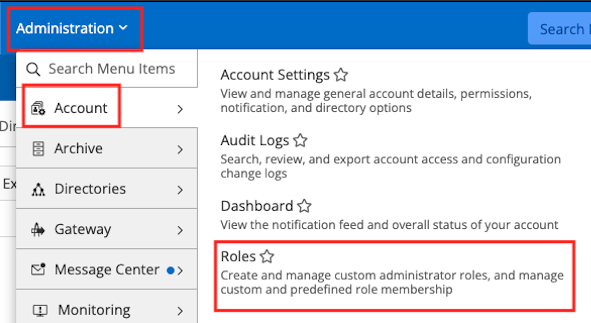
- Select Basic Administrator
- Click Add User to Role
- Click the checkbox of the previously created Service Account user and then click Add Selected Users
Obtaining API Key
- Log into the Mimecast Administration Console with a user who has the Admin role
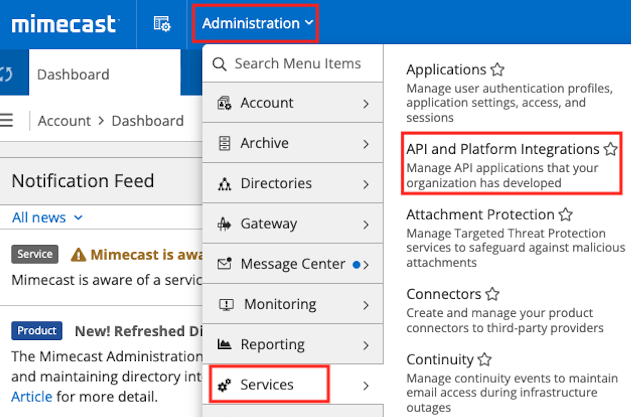
- Navigate to Administration > Services > API and Platform Integrations
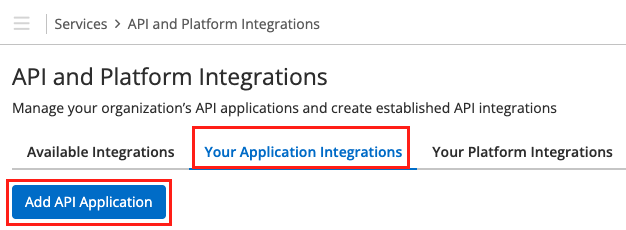
- On the API and Platform Integrations page, select Your Application Integrations, and then click Add API Application
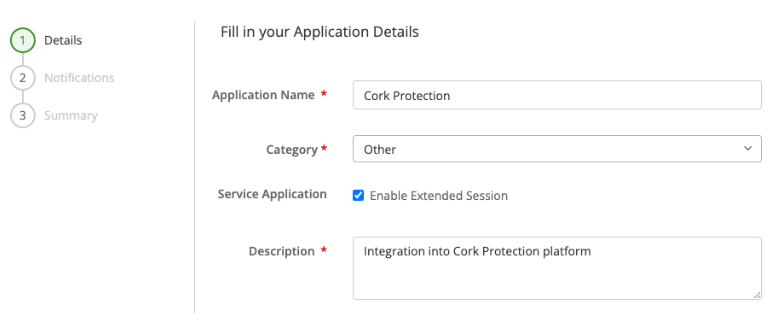
- Fill out the Application Details with an Application Name and Description of your choosing, and matching the remaining items to below and then clicking Next
- Application Name: Cork Protection
- Category: Other
- Service Application: Enable Extended Session Checked
- Description: Integration into Cork Protection platform
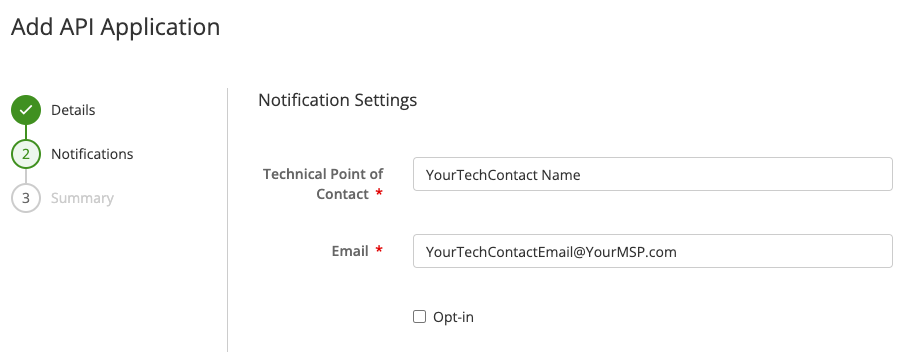
- On Step 2 of the Add API Application, fill out the Technical Point of Contact (Name) and Email of the member of your team who you wish to be the technical point of contact for any API related notifications and then click next.
- On Step 3 of the Add API Application, verify all the information is correct, select whether you want Notifications Enabled or Disabled, and then click Add.
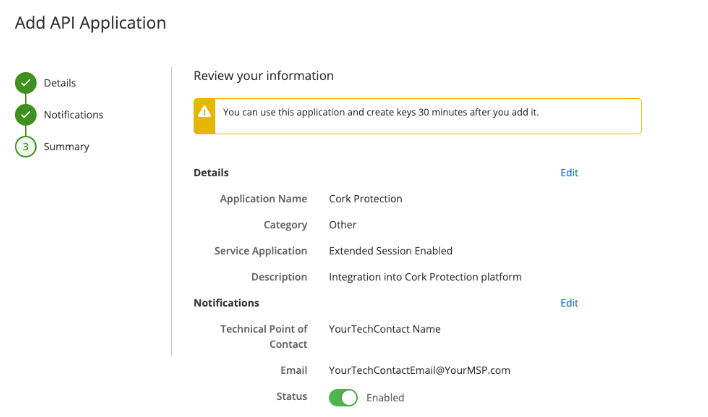
- As mentioned in the notification on the Mimecast screen, you must wait 30 minutes before you are able to create keys for the application. Set yourself a timer, go grab a coffee (or your drink of choice), and come back once the timer is up.
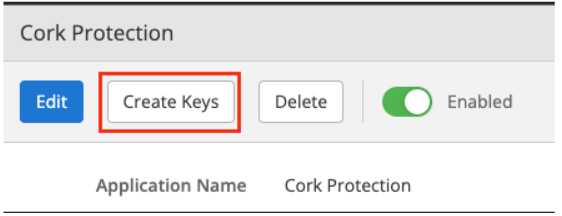
- Once the 30 minutes is up, you are ready to proceed. If your browser window was closed, you can get back to where you left off by navigating to Administration > Services > API and Platform Integrations > Your Application Integrations and then clicking the previously created application (Cork Protection)
- In the right hand side bar that opens up, click Create Keys
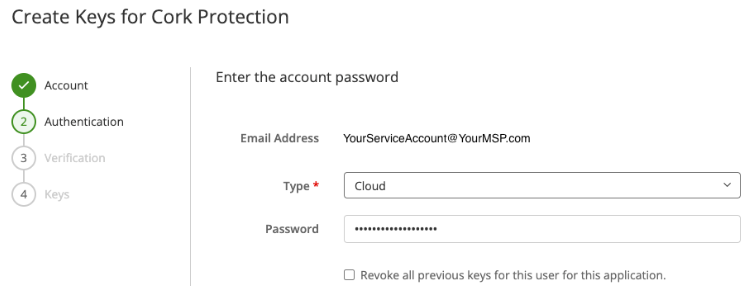
- On Step 1 of the Create Keys for Cork Protection, enter the email address of a service account.
- On Step 2 of the Create Keys for Cork Protection, select the Type, enter the Password associated with the service account you chose to use. Make sure the option to Revoke keys is unchecked and then click Next
- After authenticating, Create Keys for Cork Protection will move to step 4 and present your keys.

- Copy the value under Access Key
- Leave this browser page open and continue to the “Connecting Integration” section of this article
Connecting Integration
Note: If setting up Mimecast for both Business Email Compromise and Security Awareness Training, you can use the same set of keys, but will need to configure both separately inside Cork Protection.
- Log into Cork Protection in a new browser tab or window
- Navigate to the Integrations page
- Scroll down to the Business Email Compromise or Security Awareness Training Platform section
- Locate Mimecast and click “Configure”
- Paste the previously copied Access Key into the Access Key field.
- Navigate back to the Mimecast portal which was previously left open.
- Copy the value under Secret Key
- Navigate back to Cork Protection and paste the Secret Key into the Secret Key field.
- Navigate back to the Mimecast portal. You can now click Close on the Create Keys for Cork Protection page.
- Navigate to Administration > Services > API and Platform Integrations > Your Application Integrations and then clicking the previously created application (Cork Protection)
- Copy the value under Application ID
- Navigate back to Cork Protection and paste the Application ID into the Application ID field.
- Navigate back to the Mimecast portal.
- Copy the value under Application Key
- Navigate back to Cork Protection and paste the Application Key into the Application Key field.
- (Optional) If desired, enter a display name for the integration
- Click the “Connect” button