ConnectWise Automate
How to connect ConnectWise Automate to Cork
Overview
In this integration you will:
- Create a new user class in the Connectwise Automate Control Center enabled with limited read-only permissions
- Create a new "integrator" user in the Connectwise web interface and associate the new user class with the new user
- Add the new user credentials to Cork
The specific steps are below.
Create a new User Class
- Log into ConnectWise Automate Control Center

- Click the System icon in the bottom left corner.

- Click Users and Contacts > User Class Manager

- On the User Class Manager screen, click the + button to create a new User Class

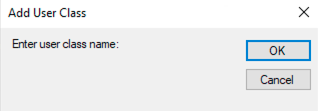
- Enter a name for your new User Class (i.e. "Cork") and click OK.

- Select your new User Class and enable the following permissions:
| Core | Plugin | Extensions | ||||
| Permission | Create | Read | Update | Delete | Access | |
| Clients | X | |||||
| Computers | Show All | X | ||||
| Users | X |
Create a new User
- Log into ConnectWise Automate's web-based interface
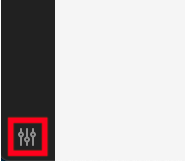
- Click the Settings icon in the bottom left corner.

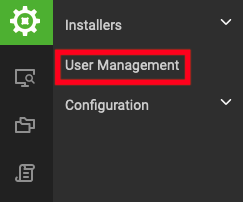
- In the System menu, click User Management

- Click the + Add button and create a new user and password

- Check "Integrator" in the bottom left corner

- Click the User Classes tab
- In the bottom left corner, click Edit User Classes, and select the User Class you created in the previous section.
- Click the Group Membership tab.
- Select All Agents and All Clients.
- Click Save.
Add to Cork
- Log into Cork and navigate to the Integrations tab
- Find the ConnectWise Automate integration and click Configure +
- Copy and paste your Connectwise Automate URL (i.e. https://my-msp.hostedrmm.com) into the Base URL field in Cork
- Copy and paste the Username and Password you just created into the Username and Password field in Cork
- Optional: add the Client ID if you manage your own and a Connection Name if you need to keep track of multiple ConnectWise integrations within Cork
