ConnectWise Automate
Last updated: March 20, 2026
How to connect ConnectWise Automate to Cork
Overview
In this integration you will:
Create a new user class in the Connectwise Automate Control Center enabled with limited read-only permissions
Create a new "integrator" user in the Connectwise web interface and associate the new user class with the new user
Add the new user credentials to Cork
The specific steps are below.
Create a new User Class
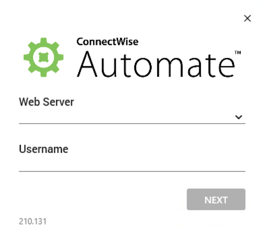
Log into ConnectWise Automate Control Center
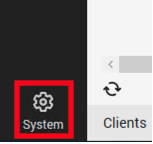
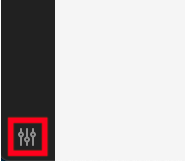
Click the System icon in the bottom left corner.
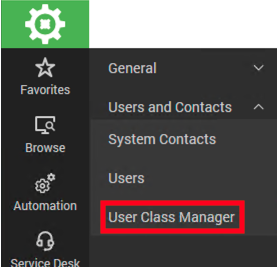
Click Users and Contacts > User Class Manager
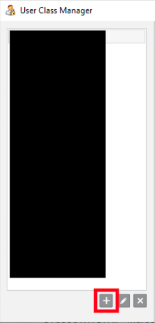
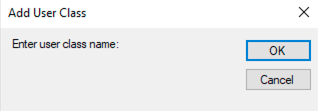
On the User Class Manager screen, click the + button to create a new User Class
Enter a name for your new User Class (i.e. "Cork") and click OK.
Select your new User Class and enable the following permissions:
Clients - Read
Computers > Show All - Access
Contacts - Read
Users - Read
Users > Show All - Access
.png")
Create a new User
Log into ConnectWise Automate's web-based interface
Click the Settings icon in the bottom left corner.
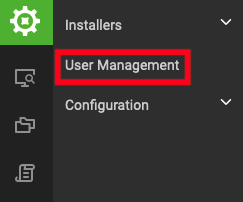
In the System menu, click User Management
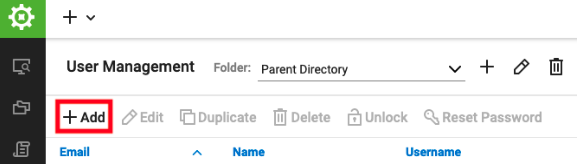
Click the + Add button and create a new user and password
Check "Integrator" in the bottom left corner

Click the User Classes tab
In the bottom left corner, click Edit User Classes, and select the User Class you created in the previous section.
Click the Group Membership tab.
Select All Agents and All Clients.
Click Save.
Add to Cork
Log into Cork and navigate to the Integrations tab
Find the ConnectWise Automate integration and click Configure +
Copy and paste your Connectwise Automate URL (i.e. https://my-msp.hostedrmm.com) into the Base URL field in Cork
Copy and paste the Username and Password you just created into the Username and Password field in Cork
Optional: add the Client ID if you manage your own and a Connection Name if you need to keep track of multiple ConnectWise integrations within Cork